How to Get Started with Agentic Coding: Beginner
This guide takes you from zero to building your first project with agentic AI coding tools. No prior experience required.
Part 1: Choosing Your Tool
The agentic AI space has exploded. Dozens of tools now let you build software through conversation. Here are the major players:
Terminal-Based Tools
These run in your command line and work with any editor.
+-------------+-------------+------------------+----------------------------------------+
| Tool        | Company     | Price            | Strengths                              |
+-------------+-------------+------------------+----------------------------------------+
| Claude Code | Anthropic   | $20-200/month    | Best reasoning, works with any IDE     |
| Gemini CLI  | Google      | Free (1k req/day)| Generous free tier, good for learning  |
| Codex CLI   | OpenAI      | API pricing      | GPT-4 powered, good at explaining      |
| OpenCode    | Open Source | Free + API costs | Self-hosted, privacy-focused           |
+-------------+-------------+------------------+----------------------------------------+
IDE-Based Tools
These replace or extend your code editor.
+----------------+-----------------+---------------+--------------------------------+
| Tool           | Company         | Price         | Strengths                      |
+----------------+-----------------+---------------+--------------------------------+
| Cursor         | Cursor Inc.     | $20-40/month  | Full IDE, excellent UI         |
| Windsurf       | Codeium         | $15-60/month  | Fast, good autocomplete        |
| GitHub Copilot | Microsoft/GitHub| $10-39/month  | Deep GitHub integration        |
+----------------+-----------------+---------------+--------------------------------+
Browser-Based Tools
These run entirely in the browser. No local setup.
+---------------+------------+--------------------+---------------------------+
| Tool          | Company    | Price              | Strengths                 |
+---------------+------------+--------------------+---------------------------+
| Replit Agent  | Replit     | $25/month          | Zero setup, instant deploy|
| Bolt.new      | StackBlitz | Free tier available| Full-stack in browser     |
| Lovable       | Lovable    | $20/month          | Focused on web apps       |
+---------------+------------+--------------------+---------------------------+
Which One Should You Pick?
There's no wrong answer. Each tool has its own feel. Some people love the terminal workflow of Claude Code. Others prefer Cursor's polished IDE. Some want the simplicity of browser tools like Bolt.new.
My suggestion: Start with the free options. Gemini CLI, OpenCode, or Cursor's free tier are great places to begin. Get a feel for agentic coding without spending anything.
Once you find it useful and want more power, my recommendation is Claude Code Max at $100/month. It's by far the best value. You get serious usage limits and access to the best reasoning model available.
The skills you learn (how to prompt, how to think in outcomes, how to review AI-generated code) transfer across all these tools.
Part 2: Claude Code, My Tool of Choice
I've tried most of the tools listed above. For my workflow, Claude Code won. Here's why:
- It doesn't replace my editor. I still use VS Code. Claude Code works alongside it, not instead of it.
- The reasoning is exceptional. When I describe a complex task, it actually thinks through the problem before writing code.
- Terminal-first means transparency. I see every command, every file change. Nothing is hidden.
- It works on any project. Python, JavaScript, Go, whatever. No special configuration needed.
- The Max $100 plan is the sweet spot. Enough usage for serious daily work without constantly hitting limits.
That said, you might prefer something else. Cursor is polished. Windsurf is fast. Gemini CLI is free. The best tool is the one you'll actually use.
What is Claude Code?
Claude Code is a command-line tool that lets you build software by having a conversation. Instead of writing code yourself, you describe what you want, and Claude writes, runs, and debugs the code for you.
It runs in your terminal and has full access to your project files. It can:
- Read and understand your existing code
- Create new files and folders
- Edit existing files
- Run commands (like npm install or python script.py)
- See errors and fix them automatically
- Search the web for documentation
Think of it as a developer that lives in your terminal and does exactly what you ask.
Prerequisites
1. A Claude Subscription
Claude Code requires a paid subscription. The Free plan does not include Claude Code access.
+----------+---------------+------------------+------------------------------------+
| Plan     | Price         | Claude Code      | Best For                           |
+----------+---------------+------------------+------------------------------------+
| Free     | $0            | No access        | Basic chat only                    |
| Pro      | $20/month     | Limited          | Testing if Claude Code is for you  |
| Max 5x   | $100/month    | 5x Pro usage     | Recommended - best value           |
| Max 20x  | $200/month    | 20x Pro usage    | Power users, heavy daily use       |
| Team     | $25-30/person | Included         | Teams (min 5 members)              |
+----------+---------------+------------------+------------------------------------+
My recommendation: Start with Pro ($20/month) to make sure Claude Code fits your workflow. Once you're hooked, upgrade to Max $100/month.
Sign up or upgrade at: claude.ai/settings/billing
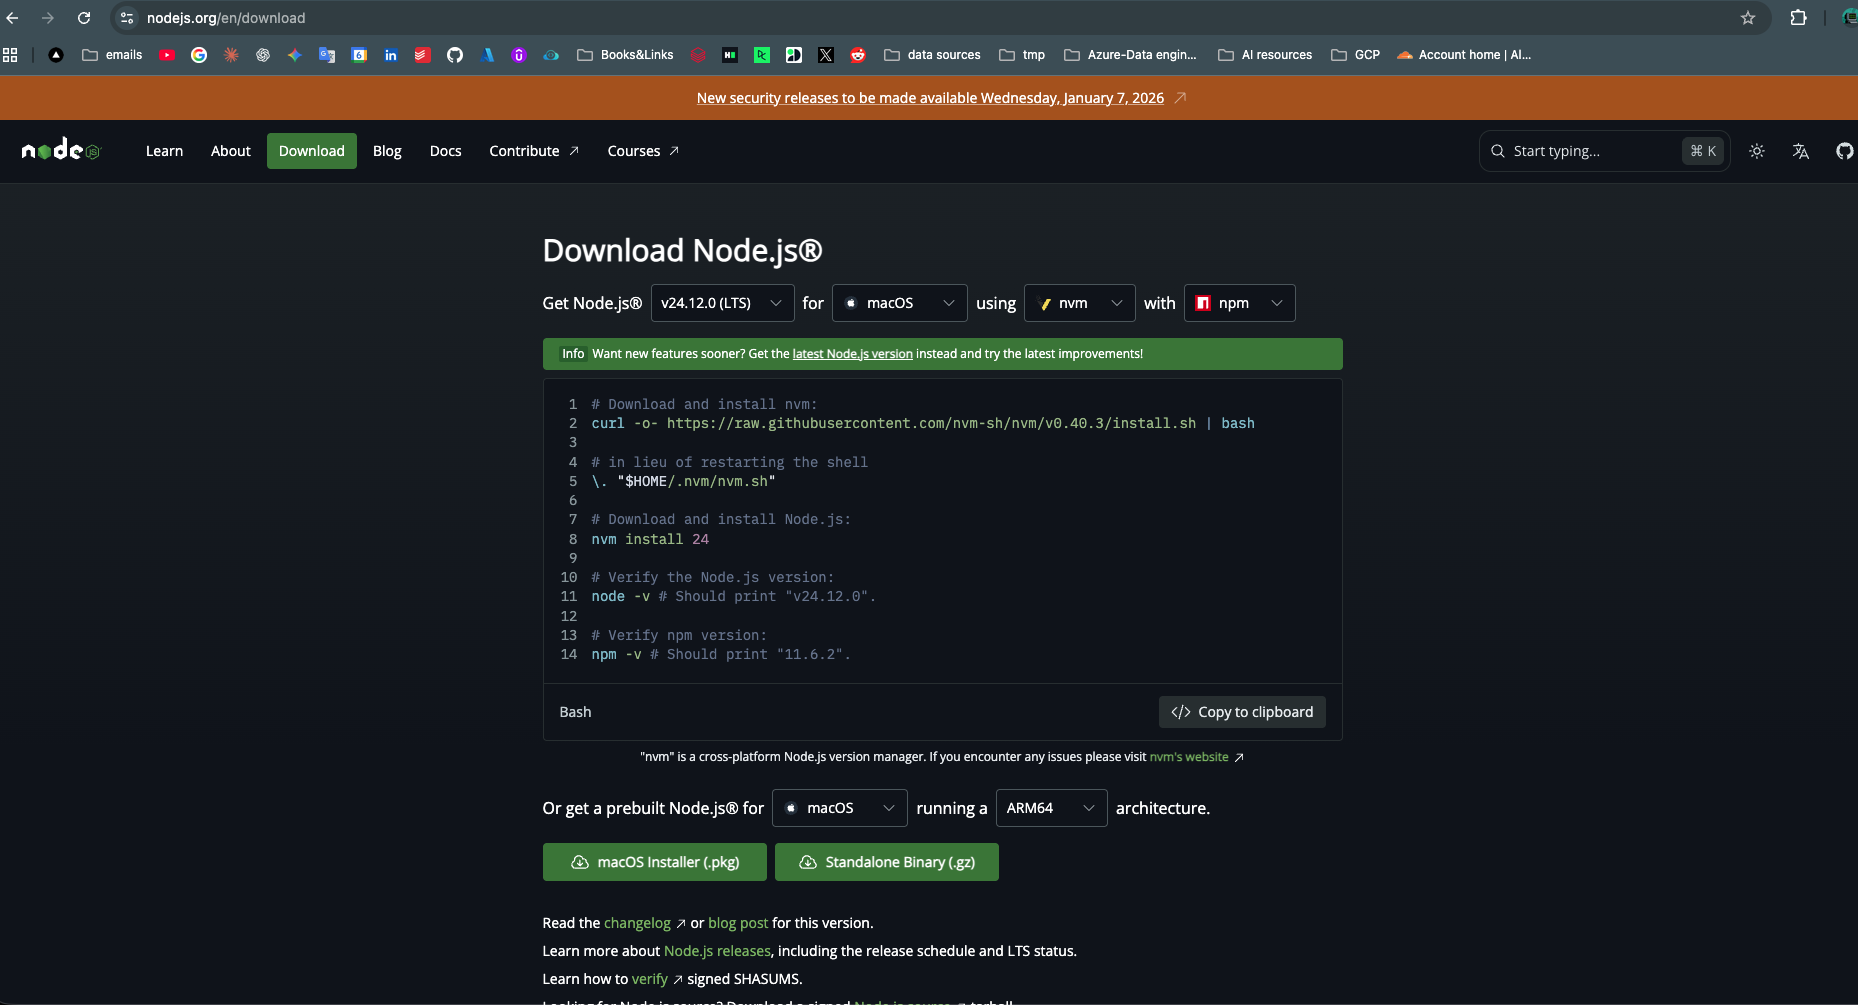
2. Node.js (version 18 or higher)
Claude Code is installed via npm, which comes with Node.js.
Check if you have Node.js:
node --versionIf you see a version number (like v20.10.0), you're good. If not, download it from nodejs.org
3. A Terminal
- Mac: Use the built-in Terminal app (search "Terminal" in Spotlight)
- Windows: Use PowerShell or Windows Terminal
- Linux: Use your default terminal
4. An Anthropic Account
You'll need to authenticate with your Anthropic account. If you don't have one, you'll create it during setup.
Installation
Official Claude Code page: claude.ai/download
Open your terminal and run:
npm install -g @anthropic-ai/claude-codeThis installs Claude Code globally on your machine. The -g flag means you can run it from any folder.
Permission Errors?
On Mac/Linux, you might need to use sudo:
sudo npm install -g @anthropic-ai/claude-codeOn Windows, run PowerShell as Administrator.
Verify the Installation
claude --versionYou should see a version number:

First Launch and Authentication
Step 1: Open a Project Folder
Navigate to any folder where you want to work. This could be an existing project or an empty folder for a new project.
# For a new project
mkdir my-first-project
cd my-first-project

# Or navigate to an existing project
cd path/to/your/project
Step 2: Launch Claude Code
claude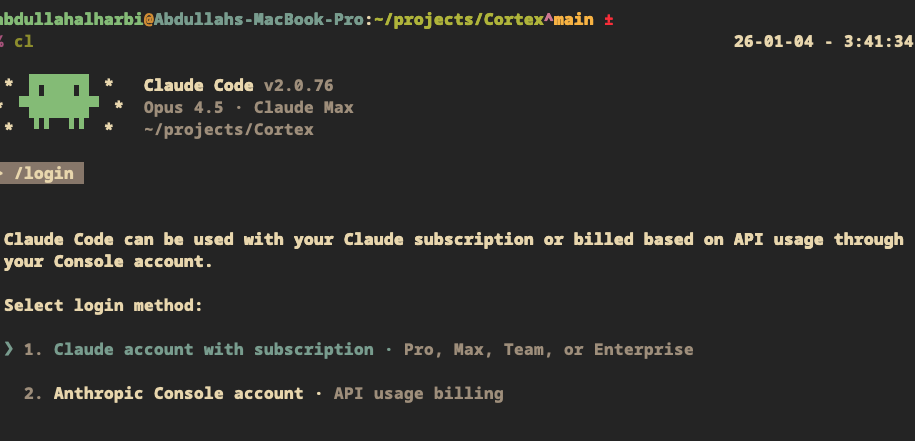
Step 3: Authenticate
The first time you run Claude Code, it will ask you to authenticate.
- A browser window will open automatically
- Log in with your Anthropic account (or create one)
- Authorize Claude Code to access your account
- Return to the terminal. You should see a success message

Understanding the Interface
Once authenticated, you'll see the Claude Code interface:
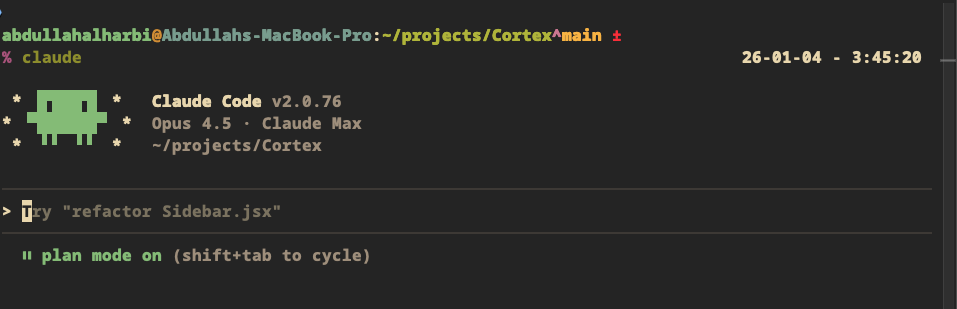
The > is where you type your prompts. Just write in plain English.
Key Interface Elements
+-------------------+--------------------------------------------+
| Element           | What It Means                              |
+-------------------+--------------------------------------------+
| Working directory | The folder Claude can see and modify       |
| > prompt          | Where you type your requests               |
| Tool calls        | Actions Claude takes (reading, commands)   |
| Output            | Claude's responses and results             |
+-------------------+--------------------------------------------+
Essential Commands
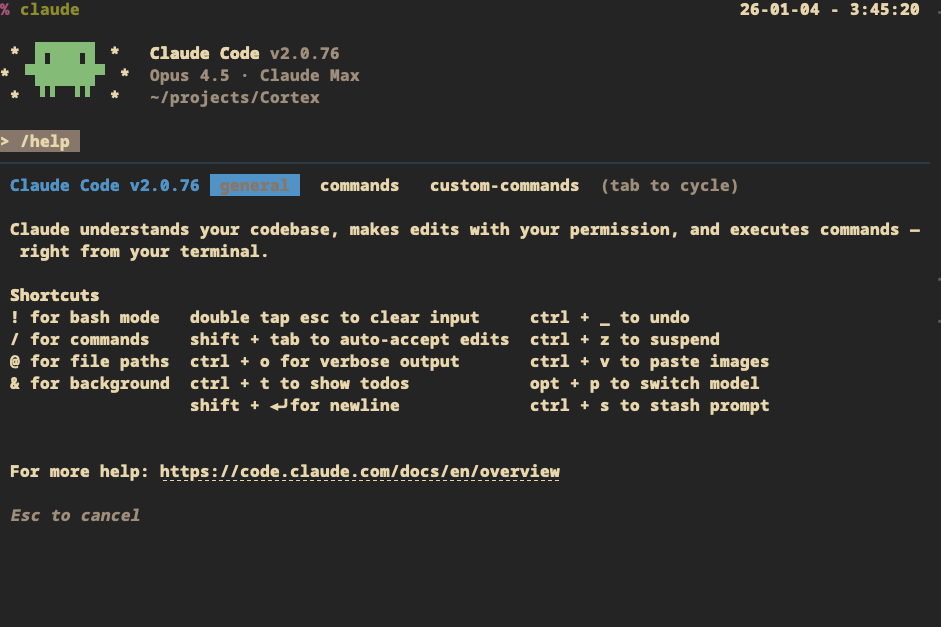
Before we start building, here are some commands you should know:
Inside Claude Code
+----------+----------------------------------------------+
| Command  | What It Does                                 |
+----------+----------------------------------------------+
| /help    | Shows all available commands                 |
| /clear   | Clears the conversation history              |
| /compact | Summarizes conversation to save context      |
| /cost    | Shows how much you've spent this session     |
| /quit    | Exits Claude Code (or Ctrl+C)                |
+----------+----------------------------------------------+
Keyboard Shortcuts
+-------------+------------------------------------------+
| Shortcut    | What It Does                             |
+-------------+------------------------------------------+
| Enter       | Send your message (single line)          |
| Shift+Enter | New line (for multi-line prompts)        |
| Ctrl+C      | Cancel current operation or exit         |
| Up/Down     | Navigate through prompt history          |
+-------------+------------------------------------------+
Your First Conversation
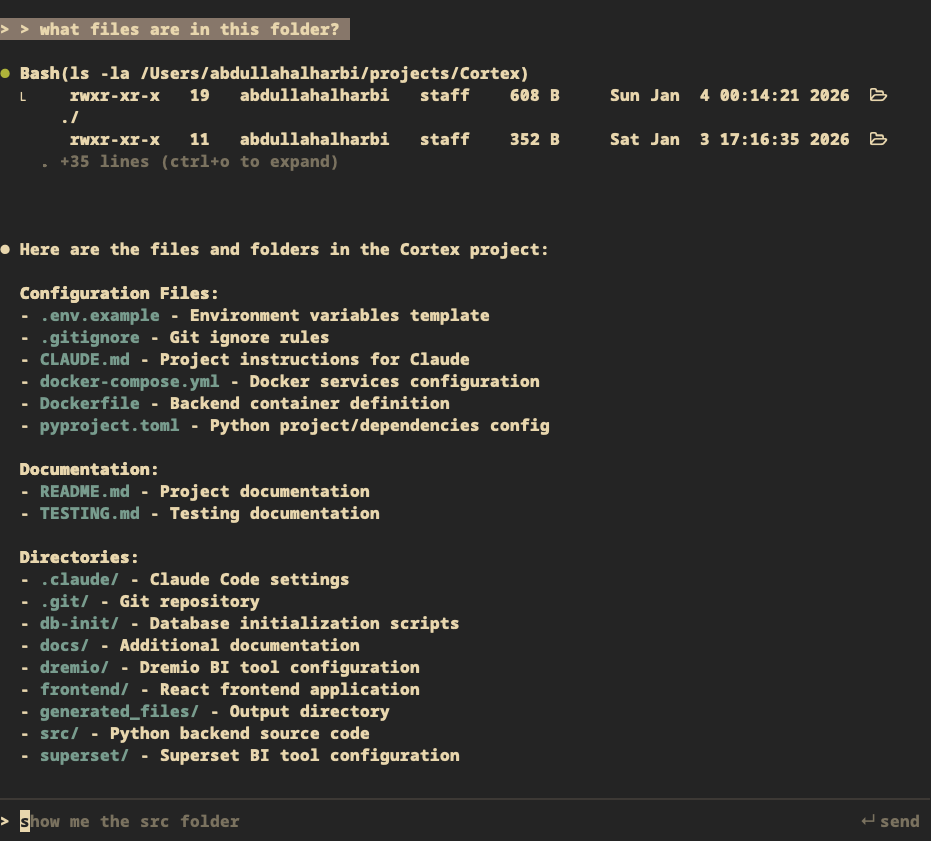
Let's start with something simple. Type this:
> what files are in this folder?Claude will read your directory and tell you what's there. If it's empty, it'll say so.
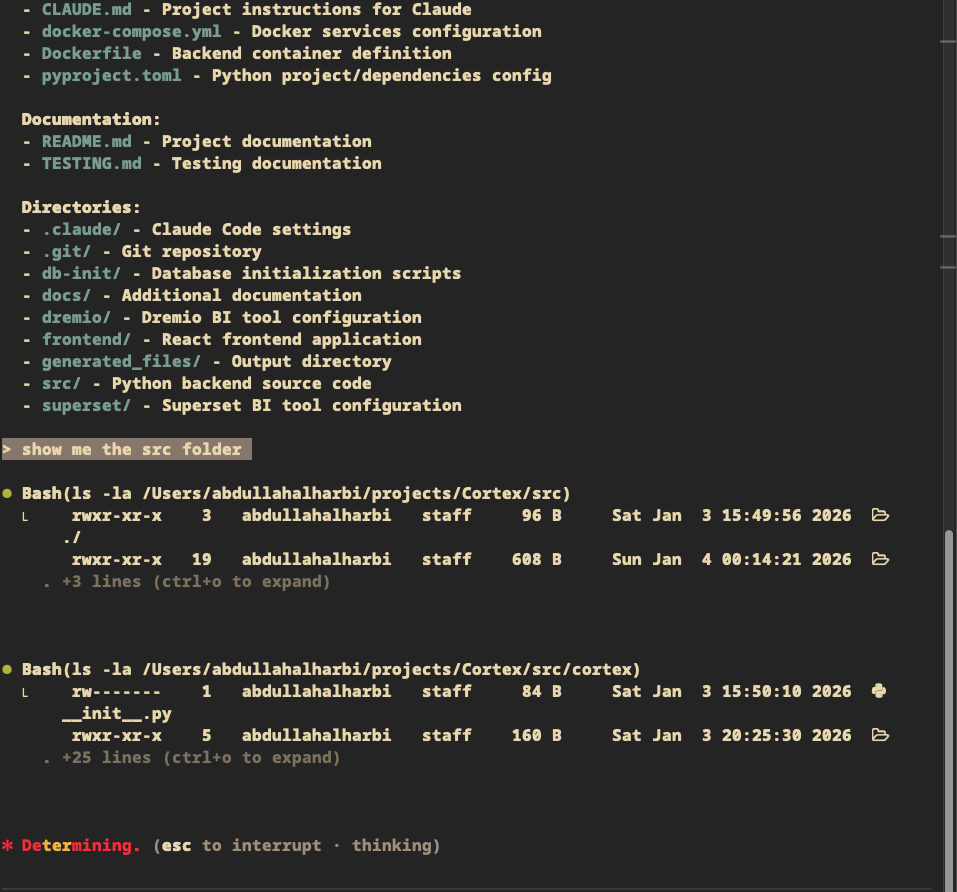
Understanding Tool Calls
When Claude does something, you'll see "tool calls". These are actions Claude is taking:
Bash(ls -la /Users/you/my-project)
  rwxr-xr-x  19  you  staff  608 B  Sun Jan 4 00:14:21 2026  ./
  ...
This transparency lets you see exactly what Claude is doing on your machine.
Building Your First Project
Let's build something real. We'll create a simple to-do list web app.
Step 1: Describe What You Want
> Create a simple to-do list web app. I want to be able to add tasks,
  mark them as complete, and delete them. Use HTML, CSS, and JavaScript.
  Keep it in a single file.
Step 2: Watch Claude Work
Claude will:
- Plan the approach
- Create the file
- Write the HTML structure
- Add CSS styling
- Write the JavaScript logic
You'll see each step as it happens.
Step 3: Review the Result
Once Claude is done, it will tell you. You can open the file:
> open the file in my browserOr on Mac:
> run: open index.htmlStep 4: Request Changes
Don't like something? Just say so:
> Make the design more modern. Use a dark theme with rounded corners.Claude will edit the file and show you the changes.
Common Workflows
Starting a New Project
> Create a new React app with TypeScript. Set up the basic structure
  with a header, main content area, and footer.
Claude will:
- Initialize the project
- Install dependencies
- Create the folder structure
- Set up configuration files
- Create the initial components
Working with an Existing Project
Navigate to your project folder, then:
> Look at the codebase and explain the architectureClaude will read through your files and give you an overview. Then you can ask it to make changes:
> Add a dark mode toggle to the settings pageDebugging
When something breaks:
> When I click the submit button, nothing happens. The console shows
  an error about "undefined". Can you fix it?
Or if you have an error message:
> I'm getting this error: "TypeError: Cannot read property 'map' of undefined"
  in the UserList component. Fix it.
Learning and Exploring
> Explain how the authentication flow works in this project

> What does this function do? [paste code or point to file]

> What's the best way to add caching to this API?
Understanding Permissions
Claude Code will ask for permission before doing certain things. You'll see prompts like:
Claude wants to run: npm install express

Allow? (y/n/always)
Your options:
+--------+------------------------------------------------------+
| Option | What It Does                                         |
+--------+------------------------------------------------------+
| y      | Allow this one time                                  |
| n      | Deny this action                                     |
| always | Allow this type of action for the rest of session    |
+--------+------------------------------------------------------+
Auto-Accept Mode
If you trust Claude and don't want to approve every action:
claude --dangerously-skip-permissionsWarning: Only use this in safe environments (like a test project). Claude will execute commands without asking.
Tips for Better Results
Be Specific
BAD:  "Make it better"

GOOD: "Add input validation to the email field. Show an error message
      below the field if the email format is invalid."
Give Context
BAD:  "Fix the bug"

GOOD: "The login button doesn't work. When I click it, the page refreshes
      but I don't get logged in. The form is in src/components/Login.tsx"
Break Down Big Tasks
Instead of:
BAD: "Build me a complete e-commerce platform"Try:
GOOD: "Let's build an e-commerce site. Start with the product listing page.
      Show products in a grid with image, name, and price."
Then continue:
GOOD: "Now add a shopping cart. Users should be able to add products and
      see the total."
Ask Claude to Explain
> Before you implement this, explain your approach

> What are the trade-offs between these two options?

> Why did you choose this library over others?
Review Before Moving On
> Show me the changes you made

> Let's test this before moving on

> Run the tests and make sure nothing broke
Project Configuration with CLAUDE.md
You can create a CLAUDE.md file in your project root to give Claude persistent context about your project.
# Project: My Awesome App

## Tech Stack
- React 18 with TypeScript
- Tailwind CSS for styling
- PostgreSQL database
- Express.js backend

## Conventions
- Use functional components with hooks
- Follow the existing folder structure
- Write tests for new features
- Use camelCase for variables and functions

## Important Notes
- The API base URL is in .env as REACT_APP_API_URL
- Authentication uses JWT tokens stored in localStorage
- Don't modify files in /legacy. That code is deprecated
Claude will read this file automatically and follow your guidelines.
Cost Management
Claude Code uses API credits. Here's how to manage costs:
Check Your Spending
/costThis shows your current session's usage.
Reduce Costs
- Use /compact regularly: This summarizes the conversation and reduces context size
- Be concise: Longer prompts cost more
- Start fresh for new tasks: Use /clear or restart Claude when switching to unrelated work
- Review before large operations: Ask Claude to explain its plan before big refactors
What's Next?
Ready to go deeper? Learn about sub-agents, hooks, skills, MCP servers, and plugins in the next guide: How to Get Started with Agentic Coding: Intermediate